Understanding the Right Time to Harvest Your Cannabis Plants
Harvesting your cannabis plants is a crucial moment that can determine the quality and potency of your final product. Knowing the right time to harvest is essential to maximizing the cannabinoids and terpenes you want in your harvest. Below, we’ll explore a few key aspects to help you identify the optimal time to harvest your plants.
Trichome Observation
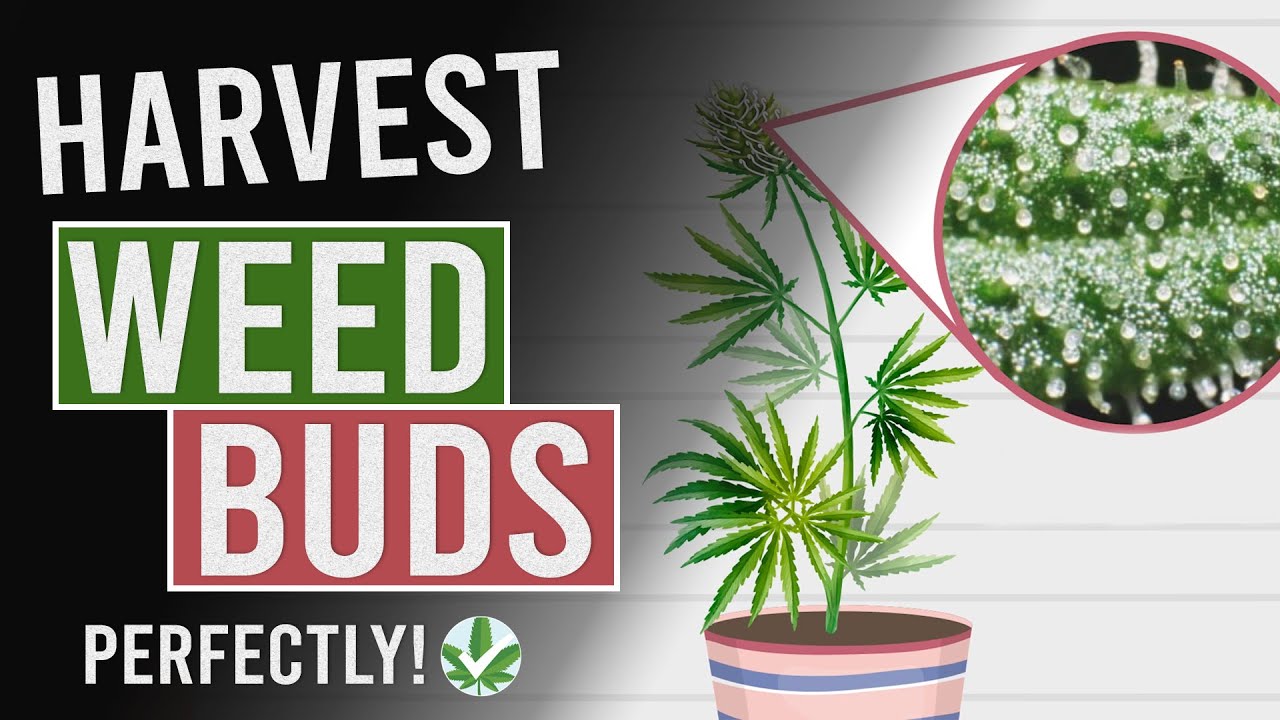
One of the most effective methods of determining harvest time is to look at the trichomes on the buds. These tiny crystals are indicators of maturity. Here are a few points to keep in mind:
- Clear trichomes: They indicate that the plant is not yet ready and that you should wait.
- Milky trichomes: This is a sign that THC is at its peak and it’s a good time to harvest if you’re looking for a more potent effect.
- Amber trichomes: They indicate an increased presence of CBN, which may provide a more sedative effect. Harvesting at this time can be ideal for those looking for a relaxing effect.
Style Color and Leaves
Another sign to look out for is the color of the stigmas and leaves of the plant. As the plant matures, the initially white stigmas will begin to darken and shrink. A percentage of brown stigmas can be another indication that you’re close to the ideal harvest time. In addition, the leaves may begin to yellow, which is normal in the final stages of growth.
Essential Tools and Equipment Needed for Cannabis Harvesting
Harvesting cannabis is a crucial stage in the growing process, and having the right tools and equipment can make all the difference in the quality of the final product. Below are the essential elements that every grower must have when harvesting.
Basic Tools for Harvesting
- Pruning shears: These are essential for cutting branches and buds efficiently and accurately.
- Gardening gloves: They protect your hands from sticky resin and prevent possible accidents.
- Baskets or collection boxes: They are used to store the buds and transport them without damaging them.
- Work tables: A clean and organized space to prepare plants for the drying and curing process.
Personal Protective Equipment
Harvesting cannabis can be a laborious process and can sometimes involve materials that irritate the skin or eyes. Therefore, it is advisable to use personal protective equipment, including:
- Masks or respirators: To avoid inhaling dust or spores indoors.
- Safety glasses: They protect the eyes from any risk during harvest.
Finally, preparing a first aid kit is an excellent idea to address any minor incidents that may occur during the collection process, thus ensuring a safe and efficient work environment.
Step-by-Step Guide to Harvesting Cannabis Plants Effectively
Harvesting cannabis plants is a crucial process that determines the quality and yield of the final product. To achieve an effective harvest, it is important to follow a series of structured steps. Below is a detailed guide that will help you get the best result in your grow.
1. Identification of the optimal harvest time
The first step in harvesting your cannabis plants is to identify the right time to harvest. This can be determined by looking at the trichomes, which are the resin glands in the buds. Use a magnifying glass or handheld microscope to assess the color of your trichomes:
- Clear trichomes: Not ready yet.
- Milky trichomes: ideal time to harvest.
- Amber trichomes: indicates a more degraded THC, ideal for sedative effects.
2. Preparing for Harvest
Before starting the harvest, it is essential to prepare the necessary equipment. Make sure you have on hand:
- sharp scissors or pruners,
- Gloves
- a clean, flat surface to work on,
- and containers to collect the buds.
Hygiene is key to avoid contaminating your flowers and ensure a high-quality product.
3. Cutting and handling process
When cutting cannabis plants, start from the top and work your way down, cutting the buds one by one. Be sure to handle the plants carefully to avoid damaging the trichomes. Dry cutting allows for easier drying, while wet cutting can increase the fragrance and potencies of terpenes.
Common Mistakes to Avoid When Harvesting Cannabis
Cannabis harvest is a crucial time that can affect the quality of the final product. However, many growers, both beginners and experienced growers, make mistakes that can compromise the result. Below are some common mistakes to avoid when harvesting your cannabis.
1. Harvesting at the wrong time
One of the most frequent mistakes is harvesting at an inappropriate time. Remember that the optimal harvest period depends on the strain and the trichomes. One way to determine the right time is to look at the color of the trichomes:
- Translucent: not ready yet.
- Milky: it’s the ideal time.
- Amber: It may be too late and may affect the effect.
2. Lack of preparation
Another common mistake is a lack of preparation before harvest. Make sure you have all the necessary tools and equipment ready, such as pruning shears, gloves, and adequate space for drying. Not only does this speed up the process, but it also reduces the risk of bud damage.
3. Not considering stress before harvest
Stress on cannabis plants, whether due to lack of water or nutrients, can negatively affect yield at harvest. Make sure to maintain good care until harvest time to maximize the quality and quantity of the final product. This includes properly watering and feeding the plants in the weeks leading up to harvest.
Post-Harvest Processes: Curing and Storing Your Cannabis Buds
Once you’ve harvested your cannabis buds, the next crucial step is the curing and storage process. This process not only improves the flavor and aroma of the herb, but also optimizes its potency and freshness. Proper curing can take several weeks, but the end result is worth the effort.
The Curing Process
When you talk about curing your buds, you’re referring to a controlled drying and decarboxylation process that allows chlorophylls and other unwanted compounds to break down. Here is a guide of steps to follow:
- Initial drying: Hang the buds in a dark, ventilated place until they are dry to the touch.
- Curing Bottles: Transfer the buds to airtight glass jars, filling them to 70–80% full.
- Aeration Process: Open the jars daily for the first few weeks to allow air to circulate and the buds to breathe.
- Curing time: Continue this process for at least 2-4 weeks for best results.
Efficient Storage
After curing, proper storage is essential to preserve the quality of your buds. Use darkened glass jars to maintain freshness and avoid exposure to light. Other tips include:
- Maintain a constant temperature: Store your bottles in a cool, dry place, away from direct light.
- Controlled humidity: Consider using humidity control packs to prevent the buds from getting too dry or wet.
- Avoid plastic: Do not store your buds in plastic bags, as this can cause mold and degradation.